I was able to get on the lathe this weekend. I had a couple of chunks of mystery wood my dad gave me, so I thought I’d try turning a couple of things.
Unfortunately, my turning setup isn’t very good yet. I basically have the lathe, some turning tools, and a jacob’s chuck. So I’m somewhat limited on what I could do. I also have to sharpen my lathe tools by hand, which doesn’t work as well as I’d like. So there’s a lot of sanding involved in the end.
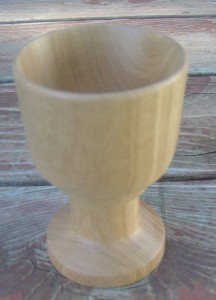 The first project I wanted to turn a goblet. I screwed the block of wood to the faceplate that came with the lathe. Then I turned it round between centers before removing the tailstock. I rough shaped the outside of the cup to get the general shape. I wanted a round shape with some beads and coves for the stem. Unfortunately, my gouge kept catching and putting huge cuts into the piece. It was rather frustrating. I figured it was either because my tools arn’t sharp enough, or I was turning at too low of a speed. I’m thinking the speed was a major factor, though.
Anyway, once I got all the gouges out and shaped, I hollowed out the center of the cup. I used my new Jacob’s chuck to drill out the center and establish the depth. I wasn’t quite sure which tool I’m suppose to use for the inside, so I pretty much stuck with the round scraper. It took awhile, but I had very little problems and it created a great surface.
I finish-sanded all the way to 600 grit, then used wipe-on poly for the finish. Since I don’t have a chuck to clean up the bottom of the cup, I just parted it off with my parting tool, trying to undercut a little bit so the cup sits flat. The bottom is a bit ugly. But at least it’s facing down so you wont’ see it much. 🙂
 My second project was a weed pot (not that kind of weed or pot…I guess a weedpot is a wood vase that isn’t suppose to hold water, but rather hold dried flowers/weeds). My wife needed a small vase to hold dandelion bouquets my son picks for her.
Again, I screwed the faceplate to the wood block, then turned between centers until round. Then I shaped the vase. I wanted the bottom to be really round and the neck long and thin. Again, I had problems with the gouge catching and seriously marring my workpiece. So I had to alter the design to cover those mistakes. The shaping went pretty quickly. For the inside, I just used my Jacob’s chuck and a Forsner’s bit to drill out the center. I sanded the entire piece to 600 grit. Then I used a wire to burn a couple lines in the vase.
This time I wanted to stain it. I wanted to use the same staining process I used on my tobacco pipe. I added black alcohol based stain to the whole project. Then I sanded it with 600 grit to remove most of the stain. This leaves the black stain in the pores of the wood. Then I followed it with 2 coats of cherry stain, which gave it a deep merlot color. Then I used several coats of wipe-on poly, lightly sanding between coats.
I was really happy with this. I like how the black dye really pops the grain. I’ll have to experiment with it a bit more. It seems some areas, the dye is removed more than other areas. Either with too aggressive sanding, or the wipe-on poly is removing some color. I don’t know.
Anyway, two relatively quick projects and a whole lot of fun. Oh, BTW…the mystery wood turned out to be oak.
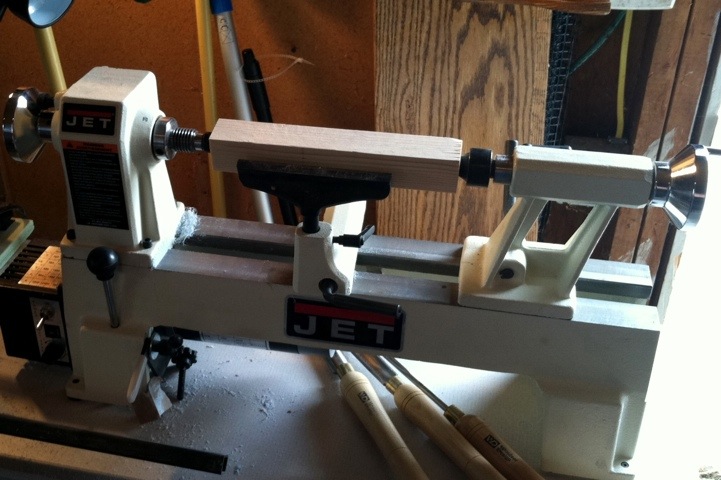 I had a bunch of mason’s twine that I used laying out my garden this year. Unfortunately, the twine was on a cheap cardboard tube. When I re-wound the twine onto the cardboard spool, it didn’t stay where I wanted. I thought I’d wrap it onto a dowel instead. Wouldn’t you know it, I was out. But this was a perfect opportunity to dig out my lathe and make my own spool. I must admit, I’m out of practice. But I think it turned out well enough.
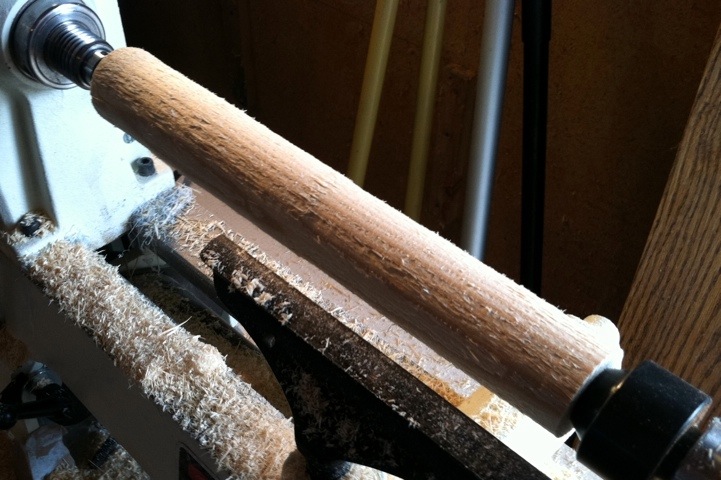
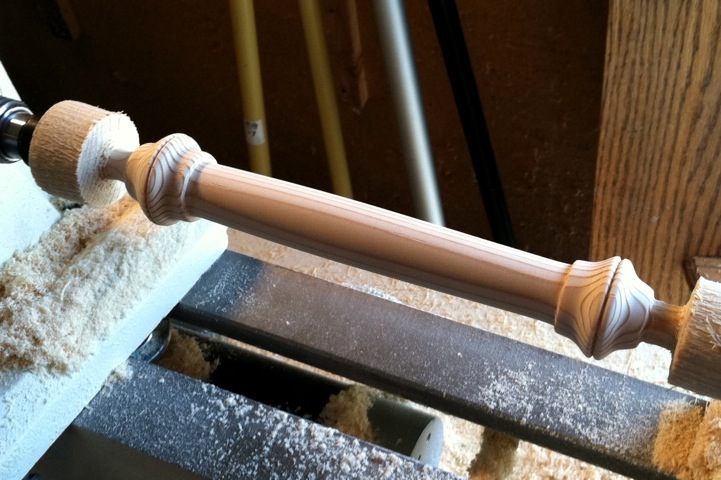 With my parting tool, I took the center down to 7/8″. Then I shaped the ends to something that looked nice. Both ends were far from symmetrical, but I got into the ballpark.
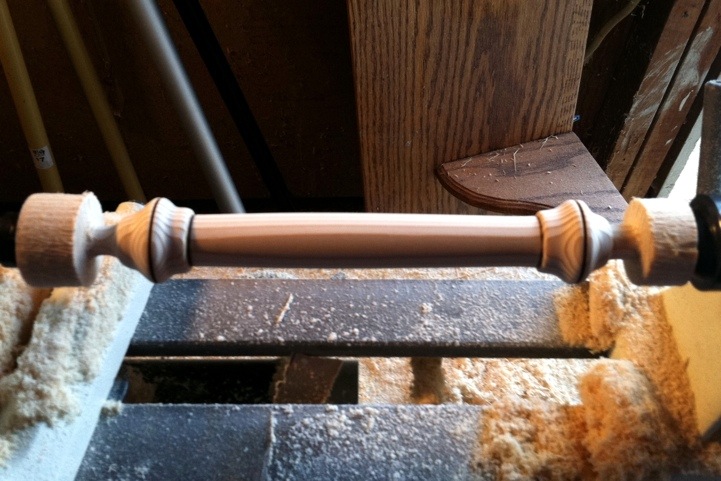 I sanded with 100, 150, 250 grit sandpaper. I used a wire-burning tool to add a bit of flair to the finial. I used paste wax for the finish, applied with a paper towel.
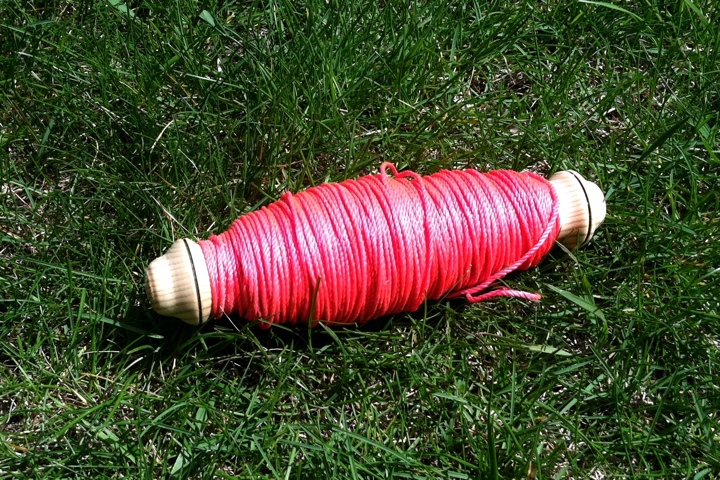 While the spool was on the lathe, I wound the string. With the parting tool, I finished off the end and removed it from the lathe.

